

In this tutorial I'm going to show you how to make an abstract signature.
It isn't complicated, but it'll require some knowledge.
Let's get started.
Open a Photoshop document, 450*150.
Fill the first layer with black. (black on the foreground and press Alt+Enter)

Now create a new layer and add a C4D render. Take one with darker colors. (if you don't have any, just google it)
I will be using this one:

To select the C4D go to Select> Color Range and click on the color on the C4D.


Now press Ctrl+U and increase the Saturation and Lightness.

After you've added the C4D, resize it a bit, so if fits nicely, like this:

Now we're going to smudge the C4D we've added. Select the Smudge tool and set the values like this.


Start smudging! Btw, don't make dots, make lines, it'll make your signature look better.

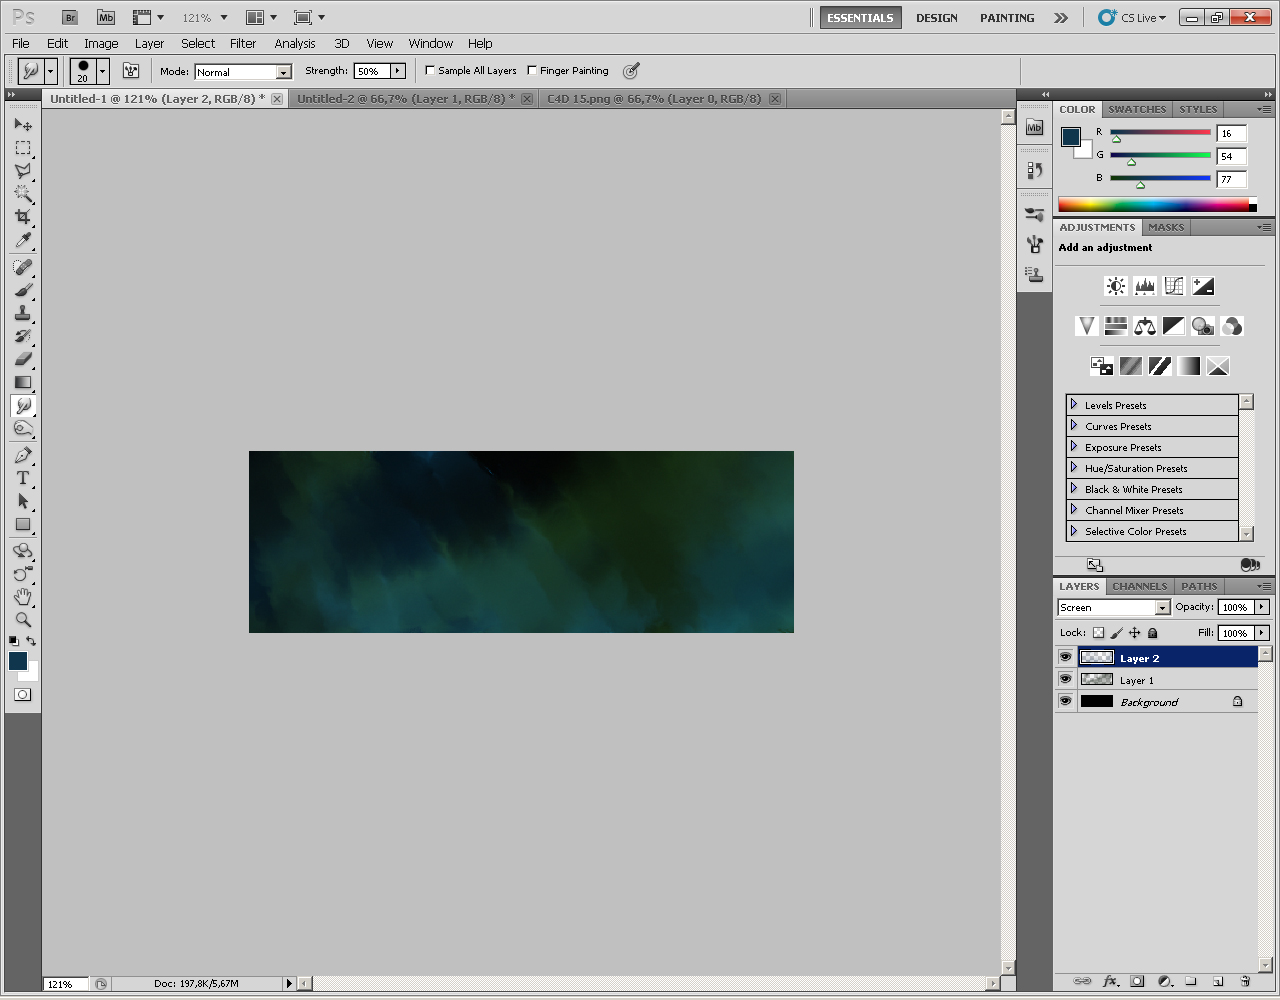
Now, add another C4D on top of the first one and set the blend mode to Screen.
I will be using this one. Repeat the same steps as above. Use a lighter C4D.
Smudge a bit more!

Now add a new layer with a different C4D. I will be using a red one. It would be okay if you smudged it in a different way than the last two.


You're nearly there!
Create a new layer.
Apply the image. (Image>Apply Image)
Now go to Filter>Blur>Smart Blur and set the values like this: radius: 3, threshold: 25, quality: low, mode: normal.

Create a new layer and select a big round brush with a soft edge. Make sure it's white. Set the blend mode to overlay and click a few times where you want the light to come from.

You can also add a gradient map to enhance the signature's looks. I used this Gradient map and I set the blend mode to overlay and the opacity to 42%.

And that's it. A cool signature for your forum posts. Post your outcomes in the comments!
Awesome blog following!
ReplyDeletewow, this tutorial is very easy and fun to learn. thank you. i like it.
ReplyDeleteIt's wonderful tutorial! Very easy to understand.
ReplyDelete